How to Build Gunpla
A snap-fit kit needs no glue and no paint. It does need a nipper, and the order you do things in decides whether the nub marks show.
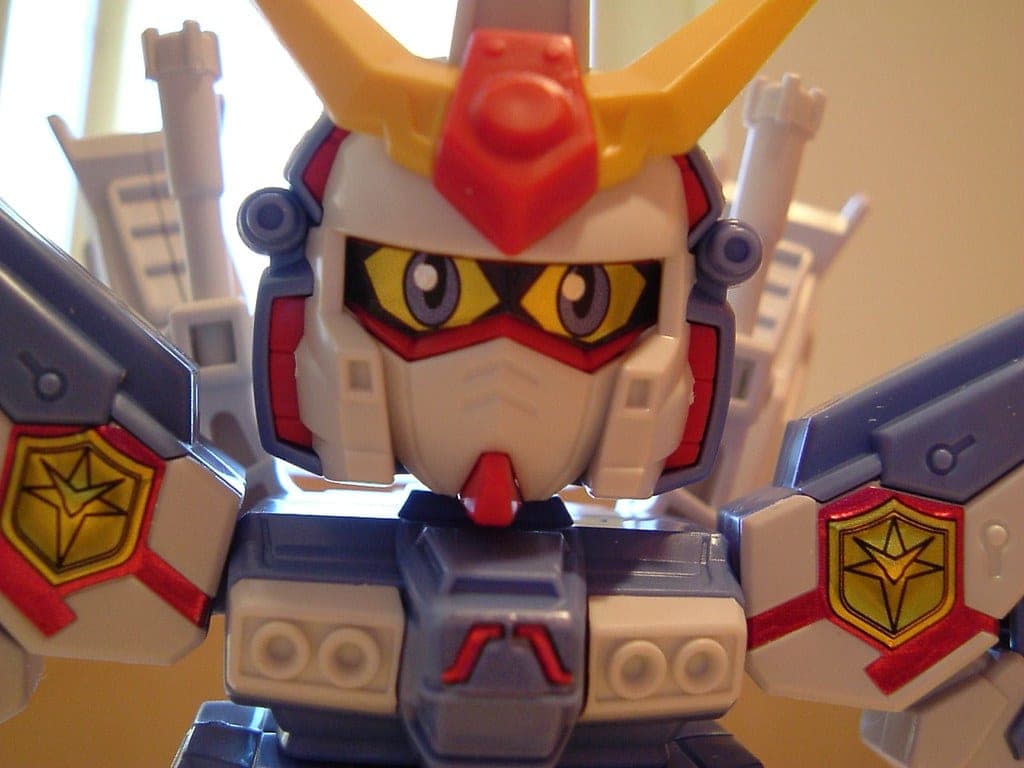
The short answer
Build a Gunpla kit by cutting each part off the runner leaving a small stub, paring the stub flush with a knife, sanding it smooth, then snapping the parts together in manual order. A High Grade 1/144 kit takes two to four hours; an Entry Grade takes about one.
The quick version
| # | Product | Best for | Score | Price |
|---|---|---|---|---|
| 1 | 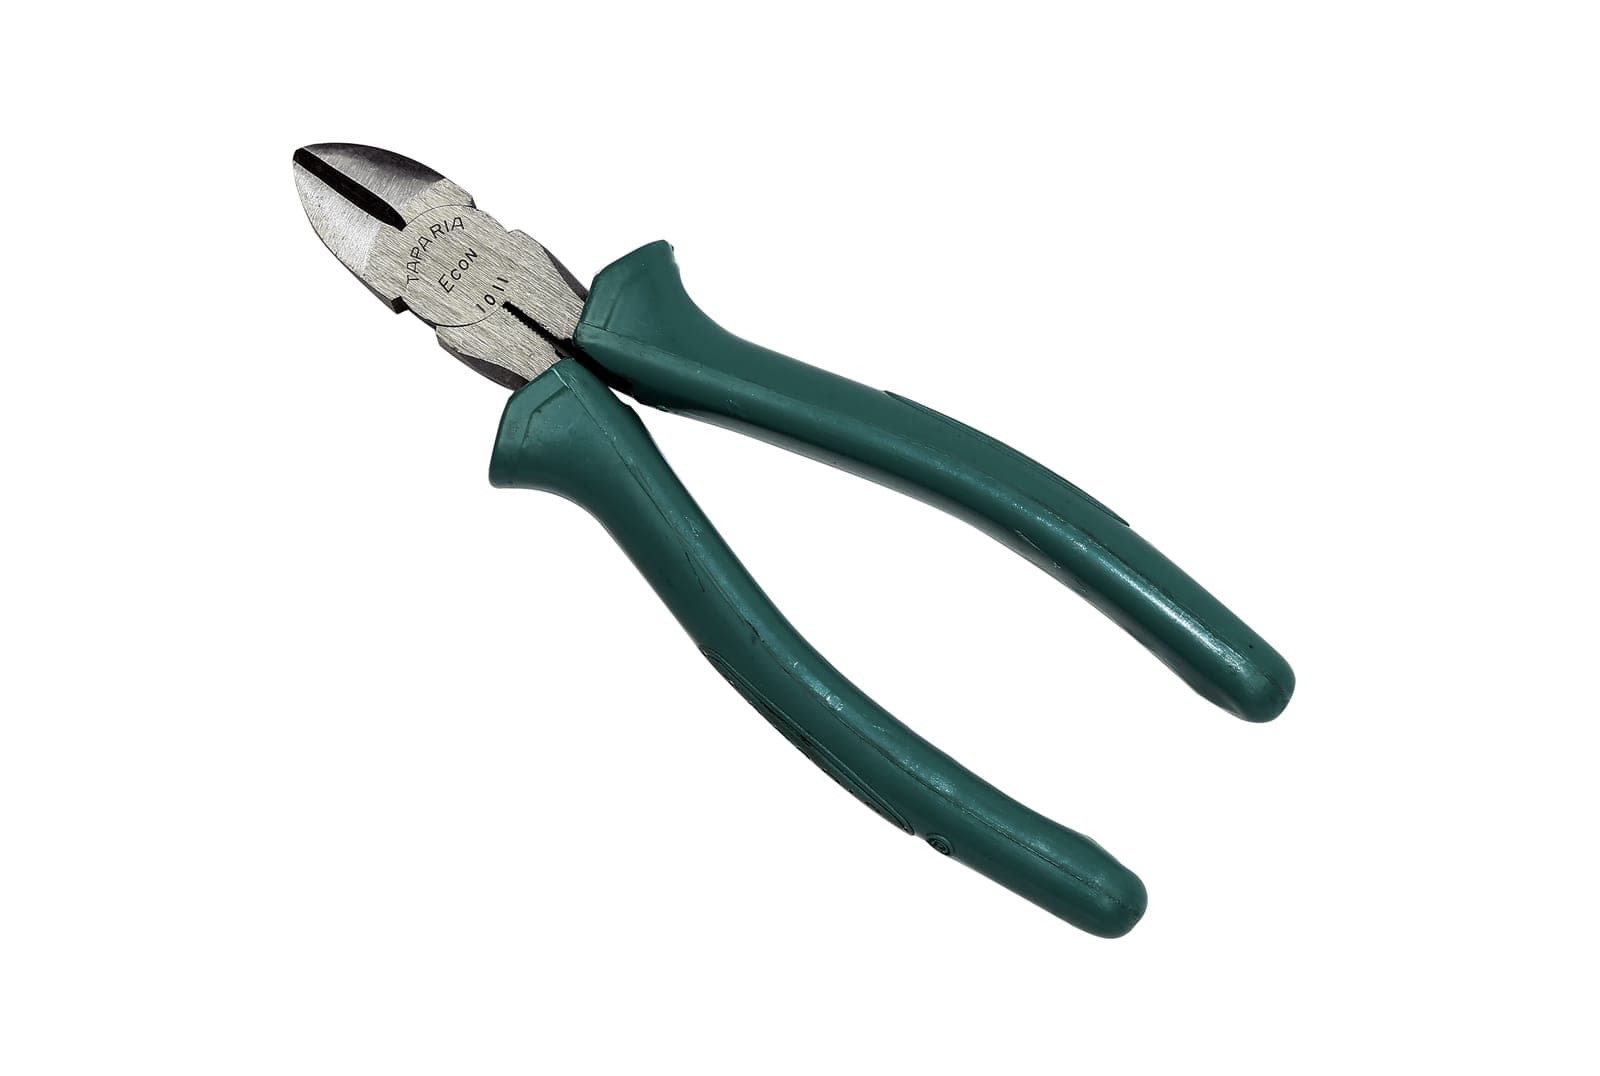 Tamiya Sharp Pointed Side CutterSlim, pointed jaws that get into a crowded runner, in a tool sturdy enough to survive years of ordinary use. The sensible first buy. | The one essential tool | 9.0 | Check price on Amazon |
| 2 | 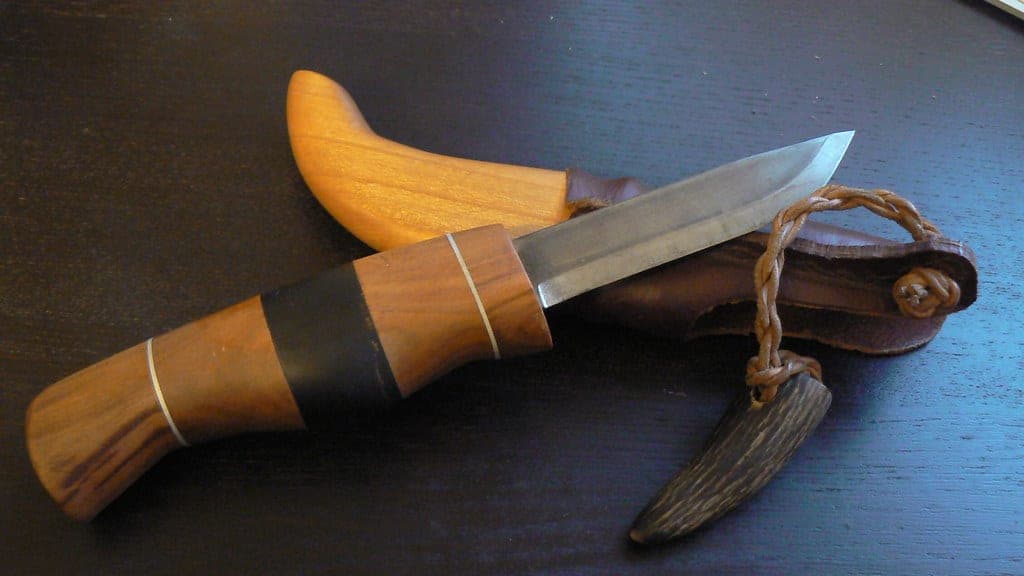 Tamiya Modeler's Knife Pro (74098)A grippy, roll-resistant handle that ships with straight, curved and chisel blades. The chisel blade is the one nobody knows they need until they meet a flat nub. | Paring the stub flush | 9.0 | Check price on Amazon |
| 3 | 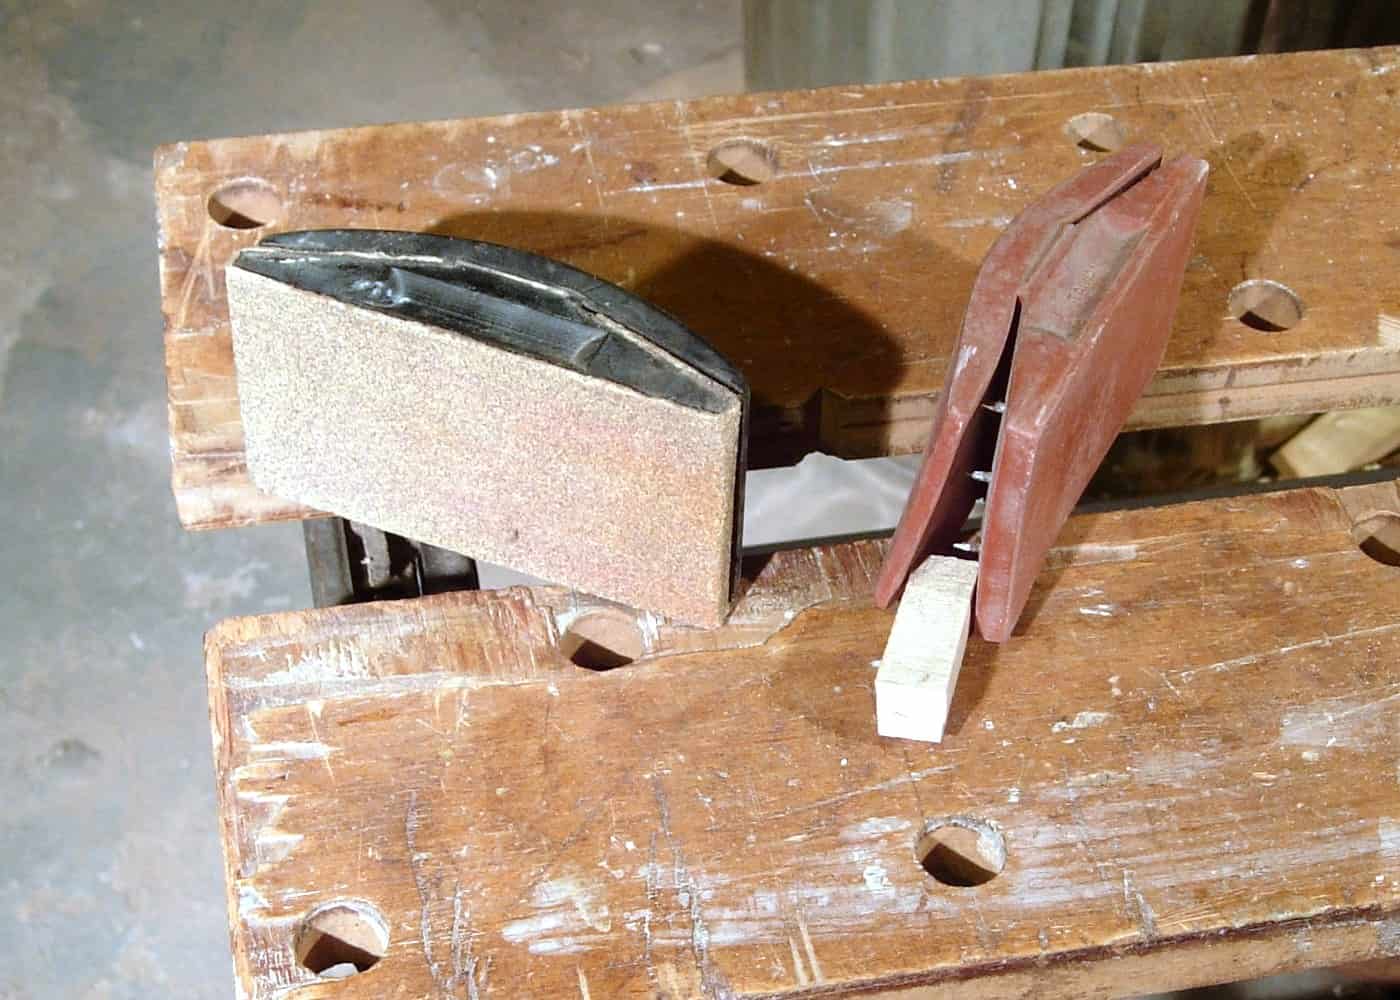 Hobby sanding sticks (assorted grits)Foam-backed abrasive on a stick, in a grit range from coarse to polishing. The thing that turns a visible nub into no nub at all. | Finishing the nub mark | 8.7 | Check price on Amazon |
| 4 |  Entry Grade RX-78-2 GundamFully snap-fit, pre-colored, low part count, and designed so most parts can be removed without a nipper at all. The best first kit there is. | The easiest first kit | 9.2 | Check price on Amazon |
Scores are our own editorial read against the criteria stated below — not a lab measurement and not a user rating. Tap a row for the full write-up.
Grades, and how long each one takes
Gunpla kits are sold in grades, and the grade tells you the part count, the engineering and roughly the evening it will cost you.
- Entry Grade (EG), 1/144. Low part count, pre-colored, and designed so most parts come off the runner without a nipper. About an hour. The best first kit.
- High Grade (HG), 1/144. The workhorse grade. Two to four hours, good articulation, sensible part count. Where most builders live.
- Real Grade (RG), 1/144. An inner frame plus tiny armor parts at HG scale. Four to eight hours and genuinely fiddly — not a first kit.
- Master Grade (MG), 1/100. Full inner frame, high part count, the most satisfying build. Eight to fifteen hours over several sessions.
Our best first Gunpla kit picks go through the specific kits rather than the grades.
Three tools, and nothing else at first
A nipper, a hobby knife and sanding sticks build a kit cleanly. Everything else on a twenty-piece tool bundle is for a later build.
The nipper is the one that matters. A single-blade hobby nipper shears the gate instead of crushing it, which is the difference between a clean cut and a white stress mark. Household scissors and side cutters from a toolbox both crush. The nipper roundup explains why single blade wins, and what tools you need for Gunpla lists the full set in buying order.
The two-cut rule, which is the whole craft
This is the single technique that separates a clean build from a scarred one, and it takes thirty seconds longer per part.
Never cut flush. When you cut a gate right against the part, the blade compresses the plastic as it severs it, and compressed polystyrene turns white. That white mark is not on the surface; it is in the plastic, and sanding it out means removing material from the part itself.
So cut twice. First cut 1 to 2 mm away from the part, in free air where a stress mark does not matter. Then pare the remaining stub down with the knife in light passes, and sand. No compression, no white mark. The detail is in how to remove nub marks.
What order to do everything in
The build sequence has a correct order and getting it wrong means redoing work.
- Build in sub-assemblies as the manual directs — head, torso, arms, legs. Do not run ahead; later steps often require a part to be trapped inside an earlier one.
- Panel line each section as you finish it, while it is still accessible. Panel lining a fully assembled kit means reaching into armpits.
- Decals after panel lining, because wiping back liner over a decal lifts it.
- Topcoat last, over everything, in thin passes.
If you intend to paint the kit, the order changes completely: everything comes apart, gets primed and painted, and then goes together. That is a different project — see how to paint your first Gunpla.
The four mistakes almost everyone makes
Cutting flush. Covered above, and it is the big one.
Forcing a tight part. A peg that will not seat usually has flash on it or is being inserted at an angle. Check before you press harder; a sheared peg is a repair job.
Panel lining bare plastic with an enamel liner. The solvent can craze stressed polystyrene, and crazing does not come out. Use a water-based marker on bare plastic or clear coat first — the panel liner picks cover which is which.
Skipping the topcoat. Bare Gunpla plastic has a glossy sheen that reads as a toy in photographs. A matte coat is the cheapest upgrade available and it also locks the decals down. See the best matte topcoat.
Which kit to start with
An Entry Grade or High Grade RX-78-2. Both are cheap, both are forgiving, both have enormous amounts of guidance available, and neither punishes a mistake. Start on a cheap kit and make your mistakes where they cost nothing.
Avoid starting with a Real Grade. The part count and the inner frame are not harder conceptually, but the parts are small enough that one slip breaks something, and that is a bad first experience for no reason.
The picks in full
Tamiya Sharp Pointed Side Cutter
Slim, pointed jaws that get into a crowded runner, in a tool sturdy enough to survive years of ordinary use. The sensible first buy.
What it gets right
- The pointed jaw reaches gates that a fat double-blade cannot get near
- Tough enough to cut thicker sprue without worrying about the blade
- Roughly a third of a God Hand, and it will not be the thing limiting your build quality
Who it is wrong for
- A double blade pinches, so it leaves more of a stress mark than a single blade
- You will still want a knife or a sanding stick to finish the nub
- Not as satisfying to use, which matters more than it should
Scored against this page’s criteria
Specs from the manufacturer: Tamiya product page
We do not publish prices. Amazon shows the current one, which is the only one that is ever right. #ad · how this is funded
Tamiya Modeler's Knife Pro (74098)
A grippy, roll-resistant handle that ships with straight, curved and chisel blades. The chisel blade is the one nobody knows they need until they meet a flat nub.
What it gets right
- The elastomer grip lets you hold it lightly, and a light grip is what stops gouges
- The chisel blade shears a flat nub off level instead of carving a dish into the part
- Comes with a cap and a blade case, so it is the one knife that needs no extra safety kit
Who it is wrong for
- The handle is fatter than a scalpel, which some people find less precise for fine paring
- Replacement blades are Tamiya-specific and cost more than generic snap-ins
- Seven blades in the box sounds generous until you realize they are the cheap part
Scored against this page’s criteria
Specs from the manufacturer: Tamiya product page
We do not publish prices. Amazon shows the current one, which is the only one that is ever right. #ad · how this is funded
Hobby sanding sticks (assorted grits)
Foam-backed abrasive on a stick, in a grit range from coarse to polishing. The thing that turns a visible nub into no nub at all.
What it gets right
- Foam backing follows a curved surface instead of flattening it
- A progression of grits removes the nub AND the sanding marks it leaves
- Usable wet, which stops the clogging and the plastic dust
Who it is wrong for
- Coarse grits leave scratches that will show through paint unless you work up through the finer ones
- Sticks wear out and clog; they are consumables
- Sanding a painted or pre-colored part means repainting it, which beginners discover the hard way
Scored against this page’s criteria
We do not publish prices. Amazon shows the current one, which is the only one that is ever right. #ad · how this is funded
Entry Grade RX-78-2 Gundam
Fully snap-fit, pre-colored, low part count, and designed so most parts can be removed without a nipper at all. The best first kit there is.
What it gets right
- Touch-gate design means many parts come off cleanly by hand, with no stress marks
- Pre-colored plastic, so it looks finished with zero painting
- Cheap enough that ruining it would not matter, which is the right mindset for kit one
Who it is wrong for
- Simplified articulation and detail compared with a High Grade
- Builds in an hour or two, which is less hobby than some people want for the money
- Fewer parts means fewer places to practice the techniques you are trying to learn
Scored against this page’s criteria
We do not publish prices. Amazon shows the current one, which is the only one that is ever right. #ad · how this is funded
FAQ
Questions people actually ask
How long does it take to build a Gunpla kit?
Do you need glue for Gunpla?
What tools do I need to build Gunpla?
Why are there white marks on my Gunpla parts?
Do you need to paint Gunpla?
More in Painting and Building Guides, or start from the beginning with what to buy first.
Sources
- Bandai Spirits / Gundam official kit and grade informationchecked October 2026
- Tamiya — tools and cement rangechecked October 2026