
Best first kit
The Best First Gunpla Kit
First kits ranked by part count, tolerance for mistakes and how good the result looks straight out of the box.
Top pick: HG RX-78-2 Gundam (Revive)Check price on Amazon
Four tools build a kit properly. Everything after that is refinement.
5 ranked roundups5 comparisons and guides
Model kits and miniatures overlap less than people assume. A Gunpla kit arrives pre-colored and snap-fit, so the build is about cutting parts off cleanly and making the seams disappear — not about paint. The tools reflect that: this is a cutting and finishing category, and the purchases are cheap, long-lived and genuinely worth getting right.
Four things, and you can build a High Grade kit to a good standard with nothing else:
The full tool list covers what to add after that and in what order, and the beginner tool picks are the products.
Because a cut is irreversible. A blunt or thick nipper crushes plastic rather than shearing it, which leaves a white stress mark that goes some way into the part. You cannot paint that out and sanding it means sanding away the pre-colored surface. A sharp single-blade nipper shears instead of pinching, so there is no mark to fix.
The technique matters as much as the tool: cut a millimeter proud of the part, then make a second cut flush. One cut right against the part is what causes most stress marks, whatever nipper you own. See single vs double blade for the mechanism and the three-way comparison for whether the expensive one is worth it — and how to remove nub marks for when it is already too late.
Glue is the place where buying the wrong thing is most common, because “glue” covers two unrelated products. Solvent cement is not glue: it melts both plastic faces so they fuse, which produces a joint as strong as the plastic and sandable to invisible. It only works on polystyrene. Super glue bonds anything, including resin and metal, and produces a weaker, brittle joint. The glue picks compare both and say which to use on what. Most Gunpla kits need no glue at all.
Panel lining is the highest-value-per-dollar step in the hobby. A few dollars of marker or enamel liner transforms how a kit reads, because the molded recesses are there specifically to hold a line. The panel liner picks explain the one real hazard: enamel liner on a painted kit will lift the paint unless you gloss-coat first.
Topcoat is the last step and the one most likely to ruin a finished kit. A matte topcoat kills the plastic shine and seals the lining and decals. Sprayed in humidity it frosts white, permanently. The topcoat guide is required reading before you spray one: it covers why frosting happens and which finish to pick.
Steel quality on cutting tools, and nothing much else. A God Hand nipper costs what it does because of the blade steel and the grind; a Tamiya costs a third as much and is genuinely good enough for most builders. Blade economics matter too — a knife whose replacement blades are cheap gets fresh blades, and a fresh blade is what stops plastic tearing. That is a bigger factor in your results than the handle it sits in. See the knife picks and sanding sticks.
Buying a tool set instead of tools. The large bundled kits are mostly filler: a dozen tweezers variants, brushes you will not use, and one mediocre nipper. The four tools above, bought individually and decently, cost about the same and are all better.
The second mistake is starting on the wrong kit. A Real Grade is spectacular and a genuinely frustrating first build; which kit to start with matters more than which nipper you own. If you are entirely new, how to build a Gunpla kit walks the whole process.
First kits ranked by part count, tolerance for mistakes and how good the result looks straight out of the box.
The starter tool set ranked by what you touch every build — nippers first, then a knife and sanding sticks.
Matte topcoats ranked for flatness, protection and risk — including when brush-on is the safer call.
Plastic cement and super glue ranked by what they actually bond, with the material chart that prevents wasted parts.

Single-blade and double-blade nippers ranked on cut face, stress whitening and how long the edge lasts.

The God Hand SPN-120 against Tamiya's single-blade cutter on cut quality, durability and value.
What sealing protects against, the gloss-then-matte method, and the cases where varnishing is the wrong call.

Enamel liner, markers and acrylic washes compared, the wipe-away method, and the stress-crack warning.

The two-cut method, knife-then-sand sequence, grit order, and fixing stress whitening.
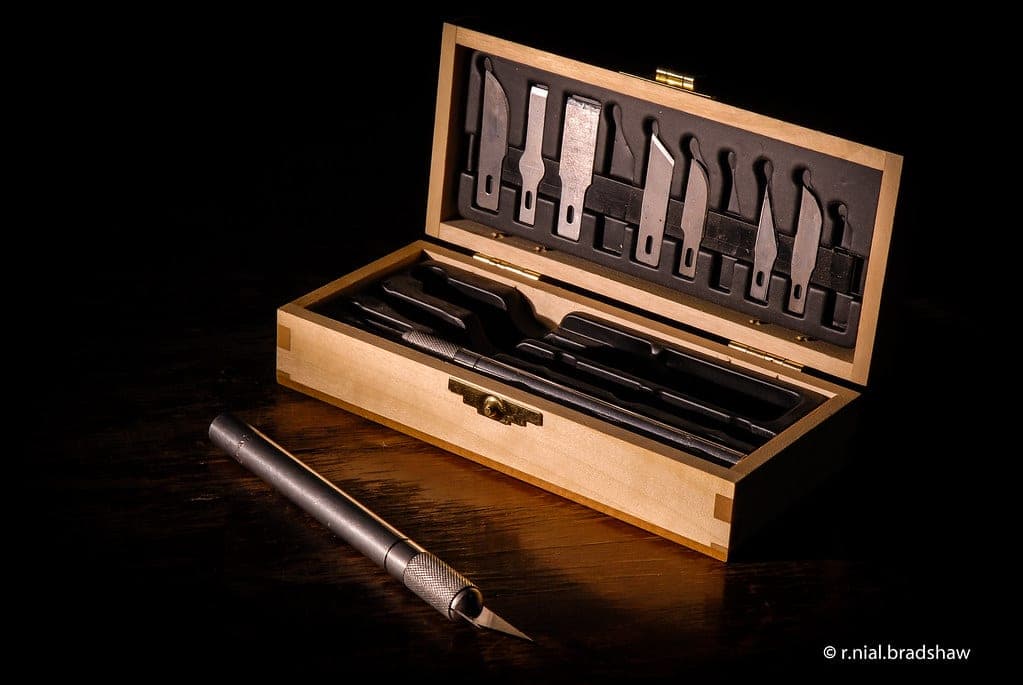
The buy-now list, the buy-later list and the skip list — with the reasoning behind each item.
Where this sits in the build