The Best Sanding Sticks and Files
One grit removes the nub and leaves scratches that show through paint. The progression is the technique, and nobody mentions it.
The short answer
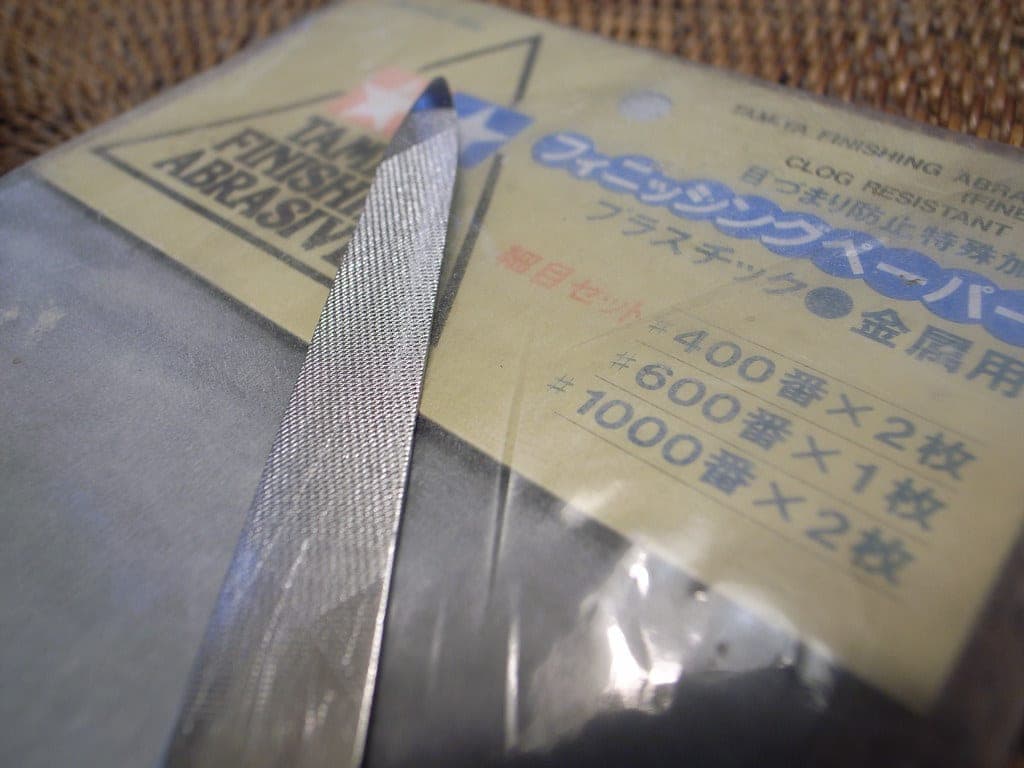
GodHand Kamiyasu 10 mm sanding sticks are the best abrasives for model kits: the thick, hard sponge keeps a flat panel flat instead of rounding its edges, and the fabric backing outlasts paper. A generic assorted pack removes nubs perfectly well; a needle file set handles the internal corners neither can reach.
The quick version
| # | Product | Best for | Score | Price |
|---|---|---|---|---|
| 1 | 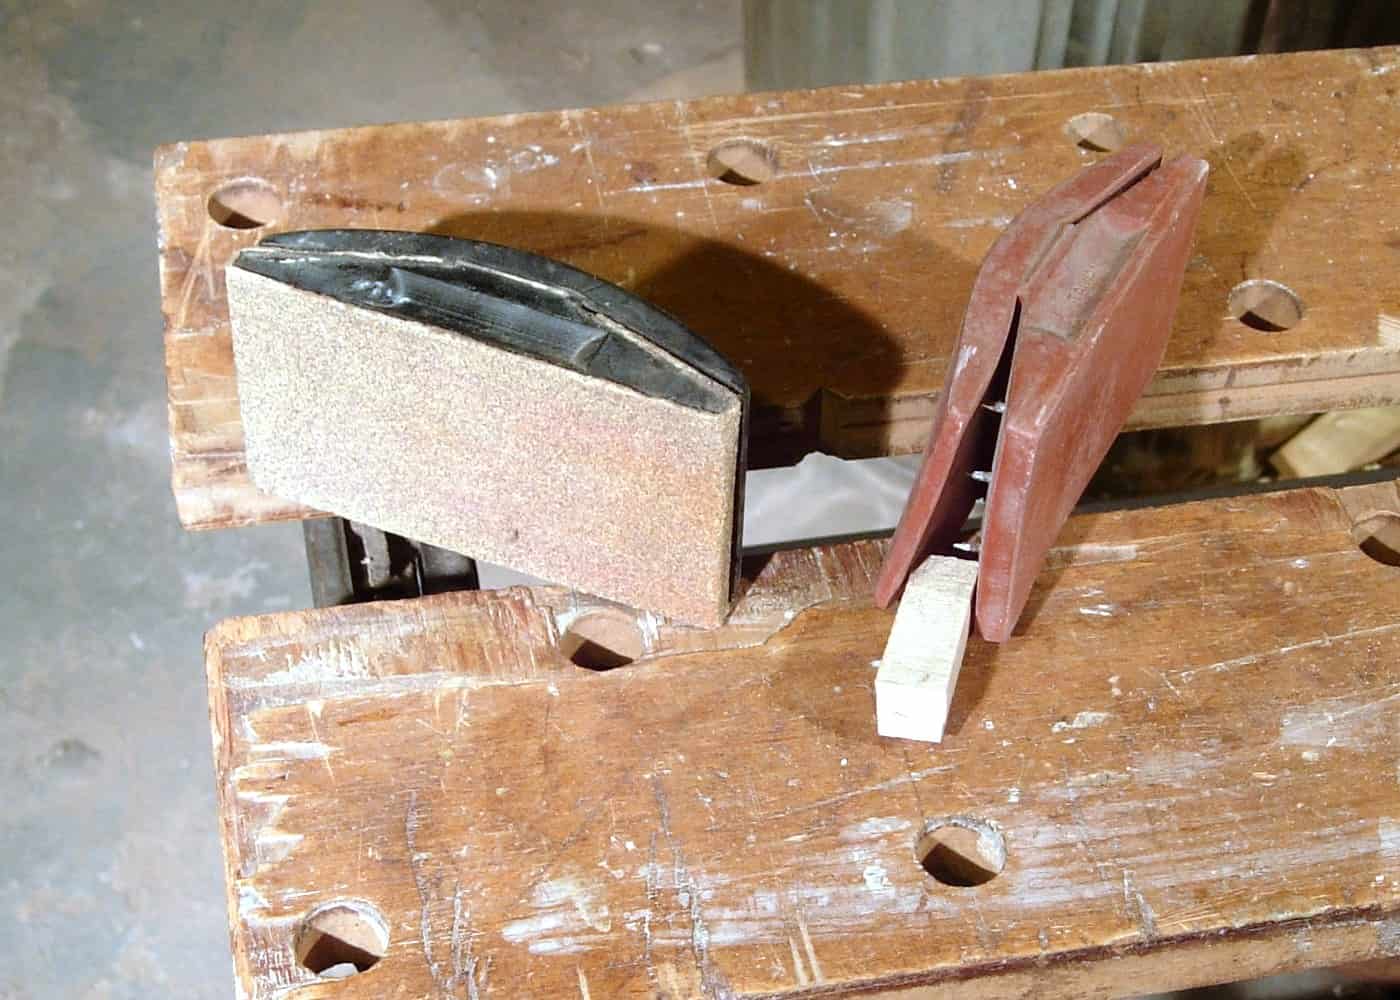 GodHand Kamiyasu Sanding Stick (10 mm)A fabric-backed abrasive on a hard 10 mm sponge. The thickness is the trick: it keeps a flat panel flat instead of rounding the edges off it. | Best sanding sticks overall | 9.1 | Check price on Amazon |
| 2 | Hobby sanding sticks (assorted grits)Foam-backed abrasive on a stick, in a grit range from coarse to polishing. The thing that turns a visible nub into no nub at all. | Best value assorted pack | 8.7 | Check price on Amazon |
| 3 | Hobby needle file setFlat, half-round, round, square and triangular steel files. Where a sanding stick cannot reach, a needle file can, and no abrasive sheet replaces the triangular one. | Seams and internal corners | 8.2 | Check price on Amazon |
| 4 |  Tamiya Modeler's Knife Pro (74098)A grippy, roll-resistant handle that ships with straight, curved and chisel blades. The chisel blade is the one nobody knows they need until they meet a flat nub. | The step before sanding | 9.0 | Check price on Amazon |
Scores are our own editorial read against the criteria stated below — not a lab measurement and not a user rating. Tap a row for the full write-up.
The grit progression is the whole technique
Here is the mistake that produces a visible nub mark under paint: sanding the nub away with one medium grit, declaring it gone, and priming. The nub is gone. The scratch pattern the abrasive left is not, and primer plus a coat of paint makes it more visible rather than less, because paint pools in the scratches.
A working progression, on bare plastic:
- 400 to 600. Remove the material. This is the only step that changes the shape of the part.
- 800 to 1000. Remove the 400-grit scratches.
- 1500 to 2000. Remove the 800-grit scratches. On a matte-finished kit, stop here.
- 3000 and up. Only if the part is gloss or clear, where you are polishing rather than sanding.
Each step exists to erase the previous step. Skip one and you are sanding scratches into a finer scratch pattern that still reads as a scuff under paint.
Why the thickness of the stick matters
A thin, soft foam stick conforms to whatever it touches. On a curve that is exactly what you want. On a flat panel it is a problem: the foam wraps over the panel’s edges and rounds them off, and a Gundam shin with softened edges looks melted.
That is why GodHand sells the Kamiyasu in a 3 mm and a 10 mm version with a harder sponge in the thick one. The 10 mm block stays flat, so flat stays flat. Use the thin one on curves and the thick one on panels, and the difference is visible on a bare part before any paint goes on.
Sand wet, almost always
Dip the stick in water first. Three things happen: the abrasive stops clogging with plastic swarf, the cut becomes finer and more even at the same grit, and you stop breathing plastic dust. The grit numbers on a GodHand stick are printed in water-resistant ink specifically so wet sanding does not erase the labels.
The exception is coarse shaping on a part you will prime heavily anyway, where dry sanding is faster. Everything in the 800-and-up range is better wet.
When you need a file instead
A stick cannot enter an internal corner, and it cannot cut through a heavy seam line quickly. A needle file does both. The triangular and knife profiles in a cheap six-piece set reach into corners that no abrasive sheet will ever touch.
Files leave coarse scratches, so a file is always step one of two — file, then work up through the sanding progression. And files are far too aggressive for pre-colored snap-fit parts: one firm pass goes through the color layer, and now the part needs painting.
The pre-colored plastic trap
Modern Gunpla is molded in its final colors. Sanding a nub on a pre-colored part removes the shiny, as-molded surface and leaves a dull patch of the same color — which is often more visible than the nub was.
Two honest answers. Either sand lightly with a fine grit only, accepting a faint mark, or accept that cleaning nubs properly means painting the part afterwards. A matte topcoat over the whole kit also evens the sheen out, which hides the dull patch without a full repaint. The cut-and-pare sequence that minimizes how much sanding you need at all is in how to remove nub marks.
The picks in full
GodHand Kamiyasu Sanding Stick (10 mm)
A fabric-backed abrasive on a hard 10 mm sponge. The thickness is the trick: it keeps a flat panel flat instead of rounding the edges off it.
What it gets right
- The 10 mm block resists flexing, so flat surfaces come out flat — the biggest difference from a cheap foam stick
- Grits are printed in water-resistant ink and color-coded, so you can still tell them apart after a wet sand
- The fabric abrasive outlasts paper-backed sticks by a wide margin
Who it is wrong for
- Costs several times a generic assorted pack, and a generic pack does remove nubs
- Grits are sold in separate packs, so a full progression is several purchases
- The hard block is wrong for a tight curve — that is what the 3 mm version is for
Scored against this page’s criteria
Specs from the manufacturer: GodHand product page
We do not publish prices. Amazon shows the current one, which is the only one that is ever right. #ad · how this is funded
Hobby sanding sticks (assorted grits)
Foam-backed abrasive on a stick, in a grit range from coarse to polishing. The thing that turns a visible nub into no nub at all.
What it gets right
- Foam backing follows a curved surface instead of flattening it
- A progression of grits removes the nub AND the sanding marks it leaves
- Usable wet, which stops the clogging and the plastic dust
Who it is wrong for
- Coarse grits leave scratches that will show through paint unless you work up through the finer ones
- Sticks wear out and clog; they are consumables
- Sanding a painted or pre-colored part means repainting it, which beginners discover the hard way
Scored against this page’s criteria
We do not publish prices. Amazon shows the current one, which is the only one that is ever right. #ad · how this is funded
Hobby needle file set
Flat, half-round, round, square and triangular steel files. Where a sanding stick cannot reach, a needle file can, and no abrasive sheet replaces the triangular one.
What it gets right
- The triangular and knife profiles clean an internal corner no stick or paper can enter
- Steel teeth cut fast through a thick seam line that would eat several sanding sticks
- Essentially permanent — a file set is a one-time purchase, not a consumable
Who it is wrong for
- Leaves coarse scratches that still need a sanding progression afterward, so this is step one of two
- Clogs with soft plastic swarf and needs brushing out or it smears instead of cutting
- Too aggressive for pre-colored parts — one careless pass goes through the color
Scored against this page’s criteria
We do not publish prices. Amazon shows the current one, which is the only one that is ever right. #ad · how this is funded
Tamiya Modeler's Knife Pro (74098)
A grippy, roll-resistant handle that ships with straight, curved and chisel blades. The chisel blade is the one nobody knows they need until they meet a flat nub.
What it gets right
- The elastomer grip lets you hold it lightly, and a light grip is what stops gouges
- The chisel blade shears a flat nub off level instead of carving a dish into the part
- Comes with a cap and a blade case, so it is the one knife that needs no extra safety kit
Who it is wrong for
- The handle is fatter than a scalpel, which some people find less precise for fine paring
- Replacement blades are Tamiya-specific and cost more than generic snap-ins
- Seven blades in the box sounds generous until you realize they are the cheap part
Scored against this page’s criteria
Specs from the manufacturer: Tamiya product page
We do not publish prices. Amazon shows the current one, which is the only one that is ever right. #ad · how this is funded
FAQ
Questions people actually ask
What grit sandpaper for model kits?
Are GodHand Kamiyasu sanding sticks worth it?
Should I sand model kits wet or dry?
Can I sand pre-colored Gunpla parts?
Do I need files as well as sanding sticks?
More in Model Kit Tools for Gunpla and Scale Models, or start from the beginning with what to buy first.
Sources
- GodHand — Kamiyasu sanding stick specificationschecked October 2026
- Tamiya — tools and cement rangechecked October 2026