Gunpla Decals and Decal Setter
Every Gunpla box has markings in it, and most builders never use them because the stickers look like stickers. The fix is knowing which of the three types you are holding.

The short answer
Water slide decals are the ones worth using: they float off their backing paper onto the kit and, once sealed, look painted on rather than stuck on. The foil stickers in the box are the fastest option but catch light at the edges. Decal setting solution is what pulls a water slide down into panel lines so it stops silvering.
The quick version
| # | Product | Best for | Score | Price |
|---|---|---|---|---|
| 1 | 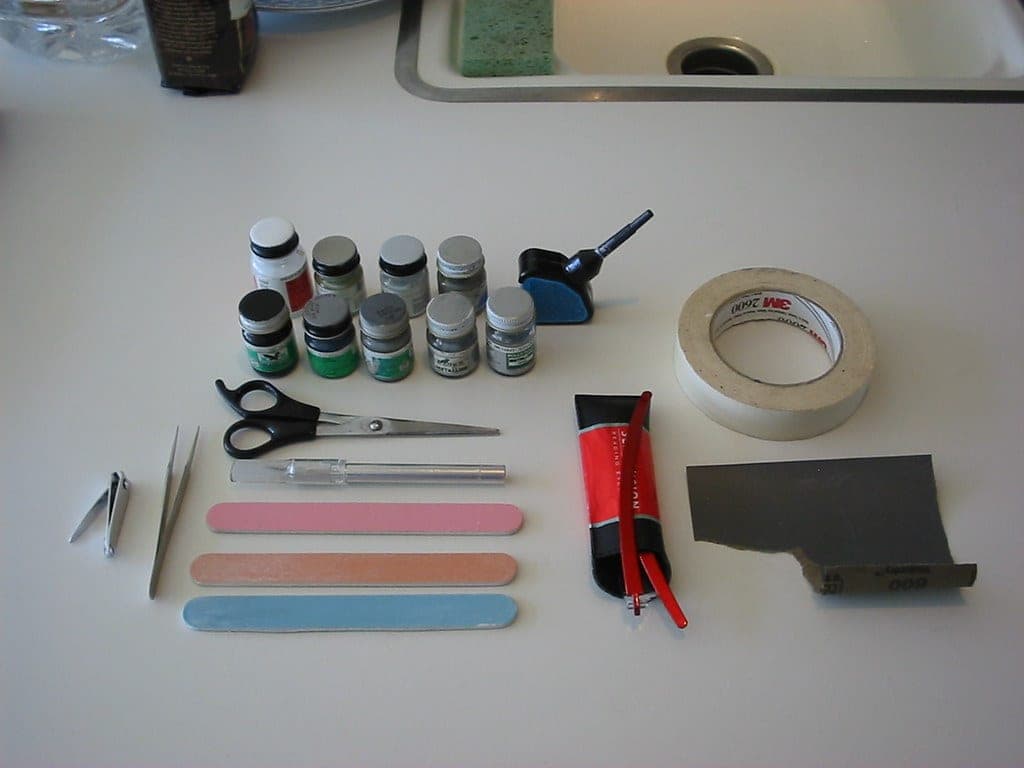 Curved-tip stainless tweezersA curved tip reaches into a model without your hand blocking the view. The single most useful tweezer shape for kit work. | Placing decals without tearing them | 8.6 | Check price on Amazon |
| 2 |  Mr. Hobby Mr. Super Clear Semi GlossThe middle setting of the Mr. Super Clear range, and the one most finished kits actually want. It kills the raw plastic shine without flattening the panel detail the way a dead-matte coat does. | Sealing decals on a finished kit | 9.0 | Check price on Amazon |
| 3 | Mr. Hobby Mr. Premium Top Coat (B-601 / B-602 / B-603)The water-based aerosol in the same family, sold in gloss, semi-gloss and flat. Much less aggressive than Mr. Super Clear, which is exactly what a first topcoat over hand-brushed acrylics should be. | Sealing without the humidity risk | 8.6 | Check price on Amazon |
| 4 | 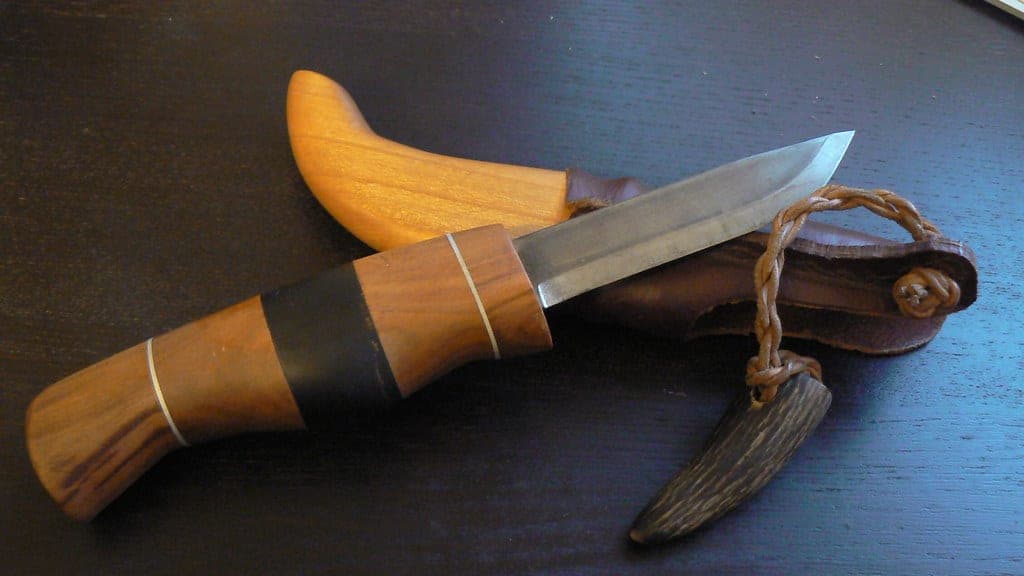 Olfa Art Knife (AK-4)A slim aluminum handle with a genuinely sharp, cheap, replaceable blade. The blade supply is the real argument — a dull knife is what tears plastic. | Trimming decal film close | 9.2 | Check price on Amazon |
Scores are our own editorial read against the criteria stated below — not a lab measurement and not a user rating. Tap a row for the full write-up.
The three types in the box
Foil stickers. Pre-cut, adhesive-backed, often with a metallic foil layer. Peel and press. They are in almost every High Grade kit, they take no skill, and they look like what they are — a thick opaque patch sitting on top of the plastic with a visible edge that catches light. Fine for a first kit, and the reason most builders conclude they dislike decals.
Dry transfers. A carrier sheet you position and then burnish from behind with a blunt stylus, transferring the ink directly to the surface. No film at all, so no edge and no silvering. The catch: one shot. Once it is down it is down, and a misaligned transfer has to be scraped off.
Water slides. Printed on a thin clear film on backing paper. Cut one out, soak it in water for ten to thirty seconds, and the film releases and slides off the paper. Position it wet, blot it, let it dry. The film is thin enough that once sealed the marking looks printed onto the armour. This is the one that looks good, and the one that needs technique.
Applying a water slide properly
Trim close. Cut the decal out with a sharp blade leaving the minimum clear film around the printed area. Every millimetre of excess film is a millimetre that can silver.
Soak briefly. Ten to thirty seconds in room-temperature water is enough for the glue to release. Over-soaking washes the adhesive away entirely and the decal will not stay put.
Slide, do not lift. Rest the backing paper against the kit and push the film off sideways with a damp brush or a cotton bud. Lifting a wet decal with tweezers is how they tear — use the tweezers to hold the paper, not the film.
Position with water underneath. While the surface is wet you can nudge the decal for a minute or so. A drop of water under it buys more working time.
Blot, do not rub. Press a cotton bud or soft tissue straight down to draw out the water and push out air. Rubbing drags the film and wrinkles it.
Silvering, and what setter actually does
Silvering is the dull metallic haze around a decal. It is not a printing fault — it is microscopic air trapped between the decal film and the surface underneath, reflecting light. A matte surface silvers far worse than a gloss one, because a matte finish is microscopically rough and the film cannot sit flat against it.
Two fixes, and they stack.
Gloss first. A gloss coat under the decal gives it a smooth surface to bed onto. This is why painted kits get a gloss coat, then decals, then the final finish — the sequence explained in matte vs satin vs gloss topcoat.
Setting solution. Decal setter softens the film so it relaxes and conforms to panel lines, rivets and curves, driving the trapped air out as it shrinks down. Applied over the top after positioning, it looks alarming — the decal wrinkles badly for a few minutes — and then dries flat and welded to the surface. Do not touch it while it is wrinkled; that is the stage where decals get destroyed.
Setter and softener are sold as pairs by several brands; a mild setter under the decal and a stronger softener over the top is the classic two-bottle approach, and either on its own is a big improvement over neither.
Where decals go in the build order
Unpainted kit: build, panel line, decals, topcoat.
Painted kit: paint, gloss coat, decals, setter, panel line, final topcoat.
Panel lining after decals on a painted kit lets you run a line across a decal so the marking sits in the panel rather than on top of it. The lining technique itself is in how to panel line Gunpla; be aware that enamel liner can attack an unsealed decal, so the gloss coat matters.
Sealing: the step that makes them disappear
An unsealed decal is a slightly raised patch of film that can be scratched off with a fingernail. A sealed one is under the same finish as the rest of the armour, which is what removes the last visual trace of an edge.
A semi-gloss lacquer clear is the default Gunpla finish and the usual choice. If the room is humid, a water-based top coat avoids the frosting risk entirely — lacquer clears blush white above roughly 65% relative humidity, which is the most common way a finished kit gets ruined at the last step. Both routes, and the humidity numbers, are covered in the topcoat picks.
Should you use decals at all?
On a straight build with foil stickers: your call, and leaving them off is a legitimate look. Plenty of clean builds skip markings entirely.
On a painted kit: yes. Markings are what make a Gunpla read as a machine with a unit number rather than a toy, and water slides plus a sealed finish are what separate a built kit from a finished one. If you are working through a first painted build, the sequence fits directly after the steps in how to paint your first Gunpla.
Storing decals, and what to do when they yellow
Decal sheets age. The carrier film yellows with light exposure and the adhesive loses strength, which is why the sheet in a kit bought a decade ago often tears or refuses to release.
Store sheets flat, in the dark, somewhere dry — a folder or a zip bag in a drawer is plenty. Heat and sunlight are what age them.
A yellowed sheet is sometimes recoverable: a few days under a bright daylight lamp or on a windowsill can bleach the film back toward clear. It is slow and it does not always work, but it costs nothing and the alternative is a sheet you cannot use.
If the adhesive has failed and decals float free without sticking, a coat of decal film solution or a thin brush of gloss varnish over the sheet before cutting restores a usable carrier. Soak as normal and apply with setting solution.
The picks in full
Curved-tip stainless tweezers
A curved tip reaches into a model without your hand blocking the view. The single most useful tweezer shape for kit work.
What it gets right
- The curve keeps your fingers out of the sightline, which straight tips do not
- Smooth jaws grip a wet decal without tearing it
- Fine enough for photo-etched parts that fingers simply cannot handle
Who it is wrong for
- Fine tips bend permanently if you use them as a lever or a clamp
- Springy cheap steel launches small parts across the room
- A reverse-action (self-closing) pair is better for holding, and this is not that
Scored against this page’s criteria
We do not publish prices. Amazon shows the current one, which is the only one that is ever right. #ad · how this is funded
Mr. Hobby Mr. Super Clear Semi Gloss
The middle setting of the Mr. Super Clear range, and the one most finished kits actually want. It kills the raw plastic shine without flattening the panel detail the way a dead-matte coat does.
What it gets right
- Reads as a scale finish rather than a toy finish — the sheen is close to real painted machinery
- More forgiving than flat over dark colors, where a matte coat can go chalky
- Hides the sheen mismatch between painted parts and bare runner plastic
Who it is wrong for
- Not the right choice if you want a chalky, non-reflective Warhammer look — buy the Matt can for that
- Lacquer, so it can lift an unsealed acrylic paint job if you lay it on wet
- Frosts above roughly 65% relative humidity, exactly like the Matt version
Scored against this page’s criteria
Specs from the manufacturer: GSI Creos / Mr. Hobby product page
We do not publish prices. Amazon shows the current one, which is the only one that is ever right. #ad · how this is funded
Mr. Hobby Mr. Premium Top Coat (B-601 / B-602 / B-603)
The water-based aerosol in the same family, sold in gloss, semi-gloss and flat. Much less aggressive than Mr. Super Clear, which is exactly what a first topcoat over hand-brushed acrylics should be.
What it gets right
- Will not attack an acrylic paint job underneath, which is the single biggest hazard of a lacquer clear
- Formulated to resist the whitening you get from overspraying — the usual beginner failure
- Milder fumes than the lacquer cans, so a ventilated garage is enough rather than a booth
Who it is wrong for
- The flat is not as dead-flat as Mr. Super Clear Matt; it keeps a faint sheen
- 88 ml cans run out fast across a squad, so the per-model cost is higher
- Still an aerosol — it is milder, not safe to spray in a closed room
Scored against this page’s criteria
Specs from the manufacturer: GSI Creos / Mr. Hobby product page
We do not publish prices. Amazon shows the current one, which is the only one that is ever right. #ad · how this is funded
Olfa Art Knife (AK-4)
A slim aluminum handle with a genuinely sharp, cheap, replaceable blade. The blade supply is the real argument — a dull knife is what tears plastic.
What it gets right
- Blades are cheap enough that you will actually change them, which is the whole game
- The 30-degree point gets under a nub without gouging the part
- Slim handle is comfortable for the long, careful passes nub removal needs
Who it is wrong for
- The slim barrel rolls off a desk, and a rolling scalpel is a genuine hazard
- Blades are brittle at that angle; levering with one snaps the tip
- No cap on some versions, so budget for a safety cap or a blade block
Scored against this page’s criteria
We do not publish prices. Amazon shows the current one, which is the only one that is ever right. #ad · how this is funded
FAQ
Questions people actually ask
What is the difference between Gunpla stickers and water slide decals?
Do I need decal setter for Gunpla?
Why does my decal look silver around the edges?
How long should I soak a water slide decal?
Do I have to seal decals?
Can I panel line over a decal?
More in Model Kit Tools for Gunpla and Scale Models, or start from the beginning with what to buy first.
Sources
- GSI Creos / Mr. Hobby — Mr. Super Clear and Mr. Premium Top Coatchecked October 2026
- Tamiya — Craft Tools: side cutters, Extra Thin Cement and Mark Fitchecked October 2026