Basic Miniature Painting Techniques
Six techniques cover almost everything you will ever paint. This is what each one does, what it is for, and the order they stack in on a single model.

The short answer
Six techniques do nearly all the work: basecoat lays flat colour, a wash darkens recesses, layering rebuilds the lit areas, drybrushing catches raised texture, edge highlighting defines outlines, and glazing blends two colours together. Applied in that order, they turn a primed model into a finished one.
The quick version
| # | Product | Best for | Score | Price |
|---|---|---|---|---|
| 1 | 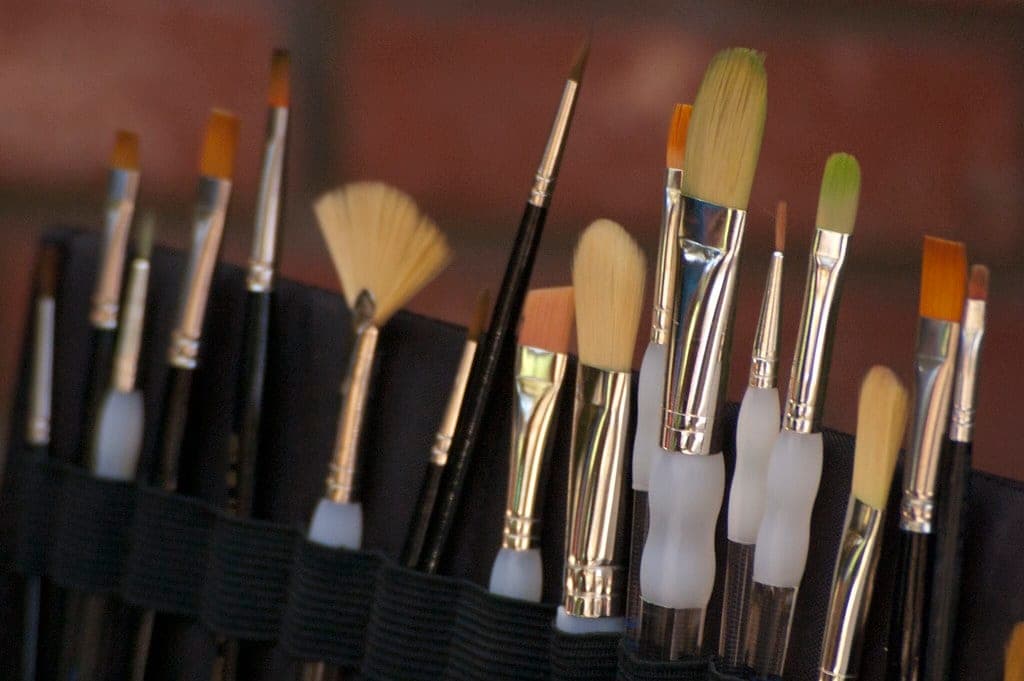 The Army Painter Wargamer Brush SetSynthetic brushes covering detail, regiment, drybrush and basecoat in one box. Not the best brush of any type — the right set to learn on and not grieve over. | The brush shapes these techniques need | 8.3 | Check price on Amazon |
| 2 |  Citadel Shade: Agrax EarthshadeA warm brown wash that flows into recesses and makes almost any color scheme look finished. If you buy a single wash, this is it. | The one wash to learn with | 9.2 | Check price on Amazon |
| 3 | 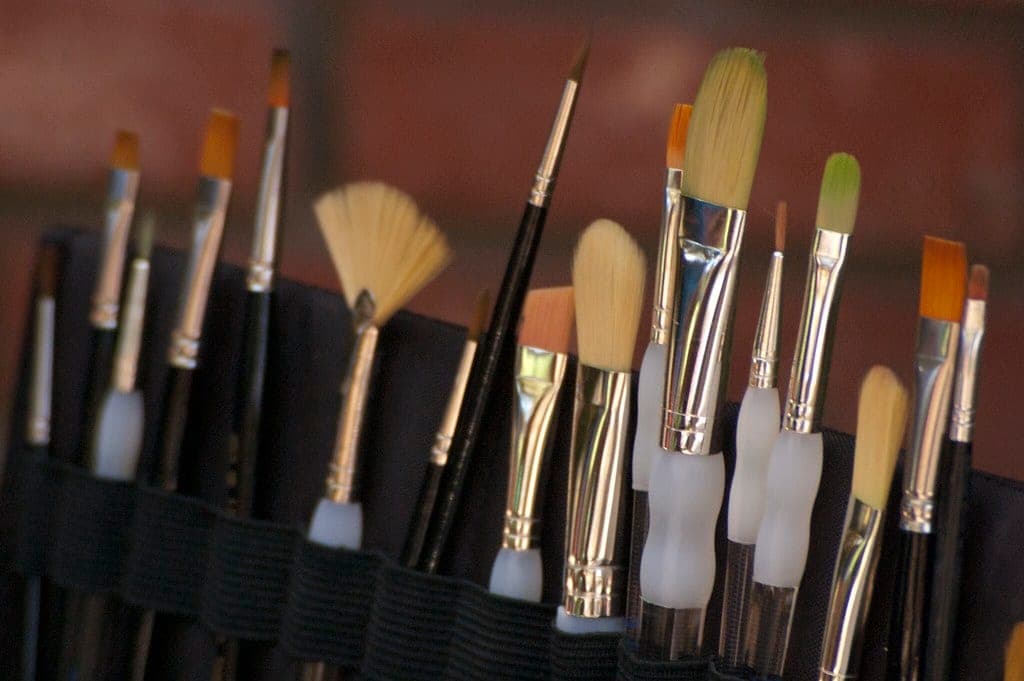 The Army Painter Wargamer: DrybrushA short, stiff, blunt-ended brush built for the one technique that destroys normal brushes. The only shape here you should buy synthetic on purpose. | Drybrushing without ruining a good brush | 8.8 | Check price on Amazon |
Scores are our own editorial read against the criteria stated below — not a lab measurement and not a user rating. Tap a row for the full write-up.
The order they stack in
These techniques are not alternatives. They are stages, and on a typical model you use four or five of them in sequence: prime, basecoat, wash, layer or drybrush, edge highlight, and optionally a glaze to tie two colours together. Each stage assumes the one before it is dry.
You do not need all six on every model. A tabletop standard is basecoat, wash, drybrush, done — three techniques and about twenty minutes. The rest are what you add when you want a particular model to stand out.
1. Basecoating
Laying the first flat colour over primer. It sounds trivial and it is the stage beginners get wrong most often, because the instinct is to use paint straight from the pot and cover in one go.
How it is done: thin the paint to roughly the consistency of milk, load the brush and wipe the excess, and apply two or three coats, letting each dry. Thin coats preserve detail. A single thick coat buries rivets and dries with visible texture.
What good looks like: solid, even colour with no primer showing through and every raised detail still crisp.
The common failure: paint that thickened on the palette halfway through, so the last half of the model has a different texture to the first. That is the problem a wet palette exists to solve.
2. Washing (shading)
A thin, heavily-pigmented, low-surface-tension paint that flows off raised areas and collects in recesses. One pass over a flat basecoat produces instant depth: dark in the cracks, lighter on the surfaces.
How it is done: a loaded but not dripping brush, touched to the recesses and allowed to run. On smaller models an all-over coat is fine; on larger flat areas, target the recesses, because a wash pooling on a flat panel dries as a visible tide mark.
Why it matters: no other technique gives as much visual return per minute. It is the single step that most reliably makes a flat model look painted. The options are ranked in the washes roundup.
3. Layering
Reapplying the base colour, or a slightly lighter mix of it, to the areas that catch light — leaving the wash visible in the recesses. This is how you rebuild brightness after a wash has darkened everything.
How it is done: thinned paint, applied to progressively smaller areas as you go lighter. Two or three steps is plenty: base, base plus a light tone, and a final small highlight.
The skill involved: keeping each layer thin enough that the edge between layers is not a hard line. This is the technique that most rewards practice, and it is where a good detail brush starts to matter.
4. Drybrushing
A stiff brush, a tiny amount of paint, nearly all of it wiped off, dragged across raised texture so the pigment catches only the high points.
What it is for: fur, chainmail, stone, rubble, wood grain, anything with lots of small raised detail. On a textured base it does in ten seconds what layering would take ten minutes to do.
What it is not for: smooth armour panels, where it leaves a chalky, scratchy texture that looks exactly like what it is.
Brush note: drybrushing destroys brushes. Use a cheap stiff one kept for the purpose. The full technique, including how dry is dry enough, is in drybrushing miniatures.
5. Edge highlighting
Running a fine line of a lighter colour along the sharp edges of armour plates, blades and plating. It is the technique that makes a model read crisply at arm’s length, and it is especially effective on hard-surface designs.
How it is done: a brush with a good point, thinned paint, and the side of the tip dragged along the edge rather than the point dabbed onto it. Brace both hands, rest your wrists on the desk, and move the model rather than your hand where you can.
Where people go wrong: highlighting every edge. Pick the edges that would catch light from above and leave the rest — an all-over edge highlight reads as a wireframe.
6. Glazing
A very thin, translucent film of colour applied over a dry area to shift its tone without hiding what is underneath. Mostly medium or water, barely any pigment, built up in several passes.
What it is for: softening the transition between two layers, warming a shadow, unifying a highlight that went too bright, tinting a flame or a glow effect.
Why it is last: it is a correction and refinement tool. You cannot judge whether an area needs a glaze until the layers under it exist.
Putting them together
On a first model, do three: basecoat, wash, drybrush. That produces a perfectly respectable tabletop finish and teaches you paint consistency, which is the foundation under all six techniques.
Add edge highlighting on the second or third model, layering after that, and glazing when layering starts to feel limiting. If you want the full beginner walkthrough with model choice and a first-session plan rather than a technique reference, start at how to paint miniatures for beginners, and keep the common beginner mistakes to hand.
Two more worth knowing early
Stippling. Dabbing the tip of a stiff brush straight down rather than dragging it, leaving a speckle of colour. It is the easiest way to produce a rough, irregular transition — rust, corrosion, worn stone, dirt at the base of a cloak — and it is far more forgiving than trying to blend those effects smoothly.
Sponge chipping. A torn piece of packing foam or a cosmetic sponge dipped in a dark metallic, dabbed almost dry onto edges and corners, produces convincing paint chips in seconds. Keep it to the places wear would actually happen: edges, raised plates, feet, and around hatches.
Both are “random texture” techniques, and both share the same rule: load the brush or sponge, then remove almost all of it on a towel before it touches the model. Applied wet they look like splatter rather than wear.
The picks in full
The Army Painter Wargamer Brush Set
Synthetic brushes covering detail, regiment, drybrush and basecoat in one box. Not the best brush of any type — the right set to learn on and not grieve over.
What it gets right
- Covers every brush shape a beginner needs without research
- Synthetic survives the abuse new painters inflict — dried paint, scrubbed drybrushing, standing in water
- The drybrush in particular is a shape you should never buy sable for
Who it is wrong for
- Synthetic points go soft and splay within months of real use
- The detail brush is outclassed by a single cheap sable
- You will replace the detail and layer brushes long before the drybrush
Scored against this page’s criteria
Specs from the manufacturer: The Army Painter product page
We do not publish prices. Amazon shows the current one, which is the only one that is ever right. #ad · how this is funded
Citadel Shade: Agrax Earthshade
A warm brown wash that flows into recesses and makes almost any color scheme look finished. If you buy a single wash, this is it.
What it gets right
- Flows into panel lines and recesses on its own — no brush control required
- Warm enough to flatter metal, leather, bone, skin and most greens
- An 18 ml pot outlasts several armies because a wash goes on thin
Who it is wrong for
- Browns everything it touches; wrong over cool blue-gray schemes that need Nuln Oil
- Tide-marks if you flood a flat panel instead of letting it sit in recesses
- Matt-dulls metallics slightly, which some painters then have to re-highlight
Scored against this page’s criteria
Specs from the manufacturer: Citadel product page
We do not publish prices. Amazon shows the current one, which is the only one that is ever right. #ad · how this is funded
The Army Painter Wargamer: Drybrush
A short, stiff, blunt-ended brush built for the one technique that destroys normal brushes. The only shape here you should buy synthetic on purpose.
What it gets right
- Stiff enough to push pigment onto raised edges rather than flood them
- Blunt end gives even coverage across a whole surface in seconds
- Cheap, because drybrushing is abuse and the brush is a consumable
Who it is wrong for
- Useless for anything but drybrushing and stippling
- Still wears out — the bristles shorten and the brush gets scratchier
- A worn-out old sable does the same job for free
Scored against this page’s criteria
Specs from the manufacturer: The Army Painter product page
We do not publish prices. Amazon shows the current one, which is the only one that is ever right. #ad · how this is funded
FAQ
Questions people actually ask
What are the basic miniature painting techniques?
What order do miniature painting techniques go in?
Which techniques should a beginner learn first?
What is the difference between layering and glazing?
Do I need special brushes for these techniques?
More in Painting and Building Guides, or start from the beginning with what to buy first.
Sources
- Games Workshop — Citadel Shade and Dry paint usage guidancechecked October 2026